Running Cucumber test written in TypeScript from WebStorm
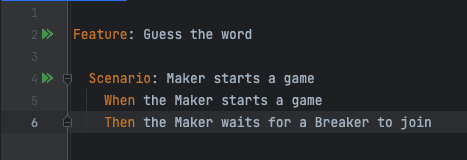
If you have been working on Cucumberjs project with steps implementation written in TypeScript language, it’s tempting to run trigger the scenario using the green play buttons, that are displayed next to it. Unfortunately, it does not work out of the box, and it requires a bit of maybe not so obvious configuration. Because I personally find it much faster and more convenient than running the tests from CLI, I decided to spend the time to figure out how to set it up properly.
Before we start make sure you have Cucumberjs and Gherkin plugins installed.
tsconfig.json
Here’s an example of tsconfig.json, feel free to adjust it to your needs, but there are a few important settings there.
First, it’s essential to have noEmit set to false as we need the transpiled files to be emitted. Second, we need to have
outDir set up.
{
"compilerOptions": {
        /* Basic Options */
        "target": "ES2019",
        "module": "commonjs",
        "rootDir": ".",
        "baseUrl": ".",
        "noEmit": false,
        "outDir": "build",
        "noImplicitAny": false,
        "noImplicitThis": false,
        "noUnusedLocals": false,
        "noUnusedParameters": false,
        "esModuleInterop": true
    }
}
Now we can proceed to WebStorm settings.
Set up Cucumber.js configuration template
- Open the configuration dialog by clicking
Run | Edit Configurationsfrom the menu. - Click
Edit Configuration Templateand chooseCucumber.js Feature file or directory, leave it empty.Cucumber.js arguments. Here you need torequireyour step, custom word, hooks, and other implementations. Eg:--require acceptance-tests/steps/**/*.js --require acceptance-tests/custom-world.js --require acceptance-tests/hooks/**/*.js. You’ll need to adjust it according to your project structure as this will most likely differ from your project. Please, note the.jsextension here, as we will use the javascript files for test execution.Name filter, leave it empty.Node interpreter, which should get picked up by IDE automatically.Cucumber packageshould lead to the cucumber package innode_modules, that should be picked up automatically by IDE.Working Directoryshould be set to match the folder defined in yourtsconfig.jsonEnvironment variables, fill in the specific configuration needed for your tests.- Add
Compile TypescriptintoBefore launch. Select yourtsconfig.jsonand leaveCheck errorsun-ticked. In case your tsconfig.json has some unusual name (eg:tsconfig.cucumber.json), you will need to add it inEditor | File Types, otherwise WebStorm will throw an error at the test execution. - Click
Apply
Run the test from WebStorm
Now you can navigate to your gherkin scenario. Click the double play icon and choose Modify Run Configuration....
It should preload the settings from the previously created template. The fields Feature file or directory, Name filter
we left empty in the template, should be sourced automatically now by IDE. Close the window.
Now click the double play icon again and choose Run option instead this time. If all is set up correctly it should compile the project and trigger the
test execution.
